Mastering DTF Printing: A Complete Guide for Beginners and Pros
Direct-to-Film (DTF) printing is rapidly becoming one of the most popular methods for creating high-quality custom apparel and textile designs. Whether you’re starting a new printing business or looking to expand your current production capabilities, mastering DTF printing can help you deliver vibrant, durable prints with greater efficiency.
In this guide, we’ll cover the basics of essential equipment, step-by-step processes, and expert tips to help you become a pro.
What Is DTF Printing?
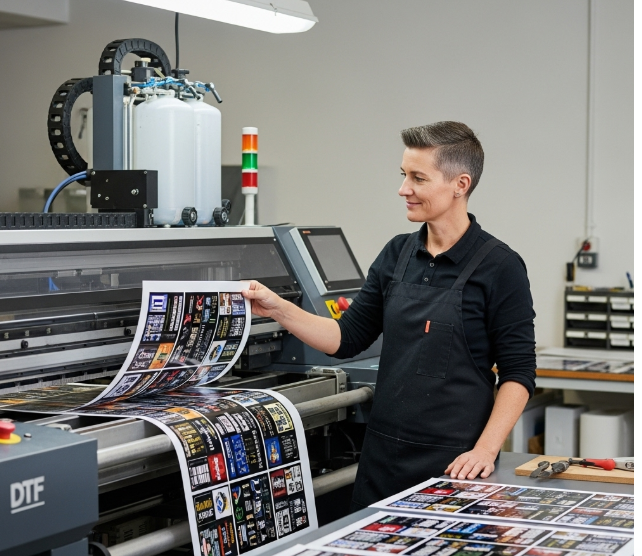
DTF printing is a digital process where designs are printed directly onto a special PET film. After printing, the design is coated with adhesive powder and heat cured. Finally, the film is heat-pressed onto fabric, transferring the vibrant artwork.
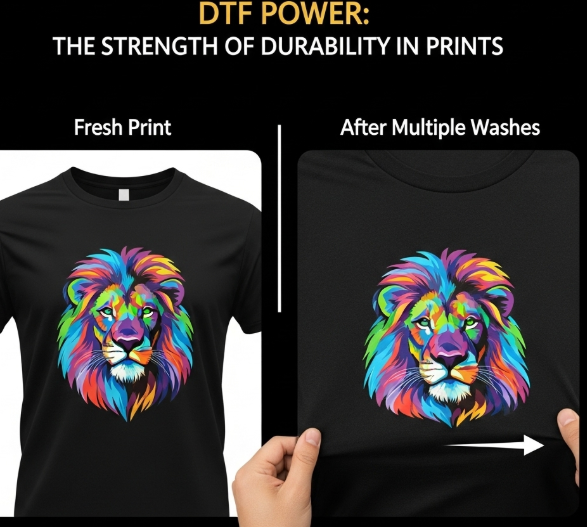
Unlike traditional screen printing or direct-to-garment (DTG) printing, DTF works on a wider variety of fabrics, including cotton, polyester, and blends. It also allows printing on dark and light-colored garments with excellent durability.
Essential Equipment for High-Quality Transfer Printing
Specialized Printer: This device is designed specifically to handle both vibrant color inks and opaque white inks. It prints detailed designs directly onto a clear plastic film, ensuring sharpness and brightness that will transfer well onto fabrics.
Adhesive Powder Applicator: After printing, the film needs a layer of special adhesive powder. This machine evenly spreads the powder over the freshly printed designs. Proper application is crucial for strong bonding between the print and the fabric.
Curing Oven or Dryer: Once the adhesive powder is applied, it must be melted and bonded to the printed ink. This step is done by passing the film through a heat curing oven or dryer. The process ensures the adhesive fuses perfectly with the design to provide durability.
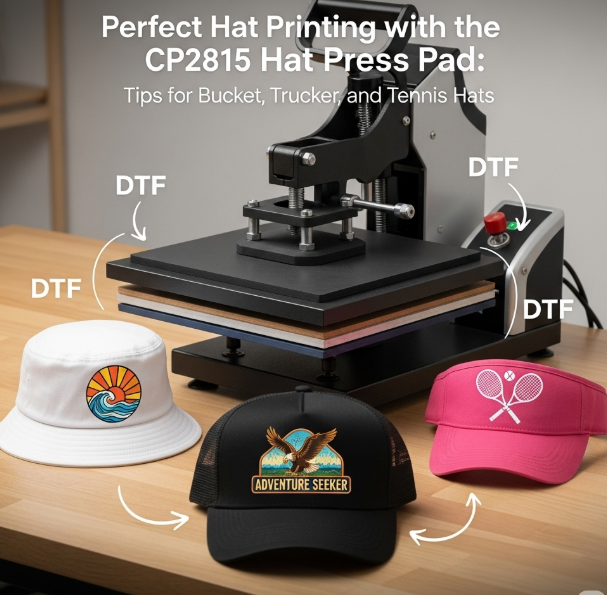
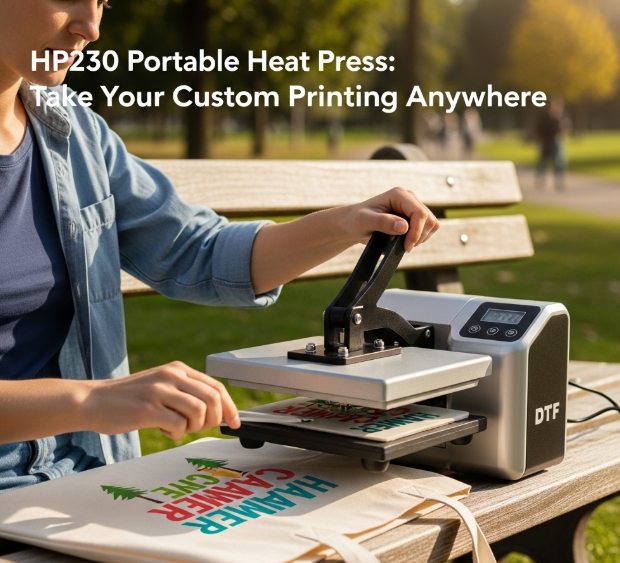
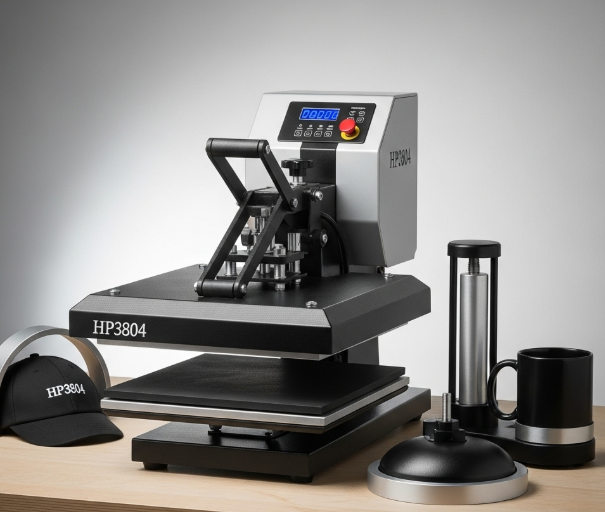
Heat Press Machine: This is the key tool for transferring the printed and powdered film onto the fabric. Using controlled heat and pressure, the heat press presses the design firmly onto the textile, making sure the print adheres smoothly and lasts through washing.
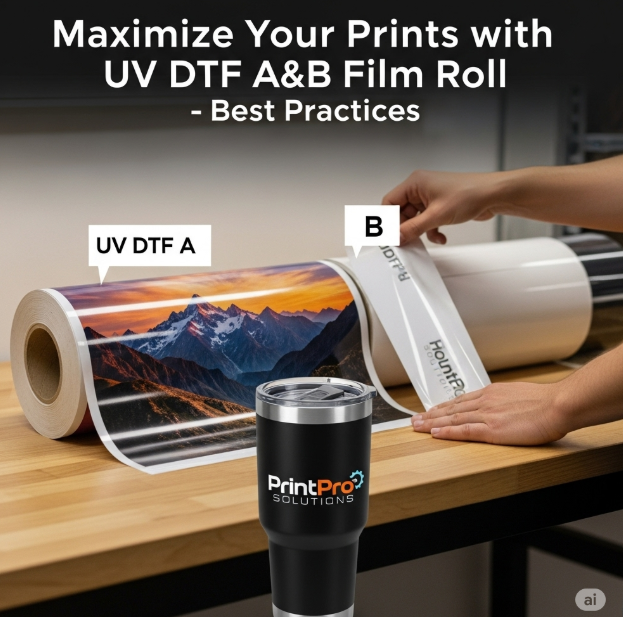
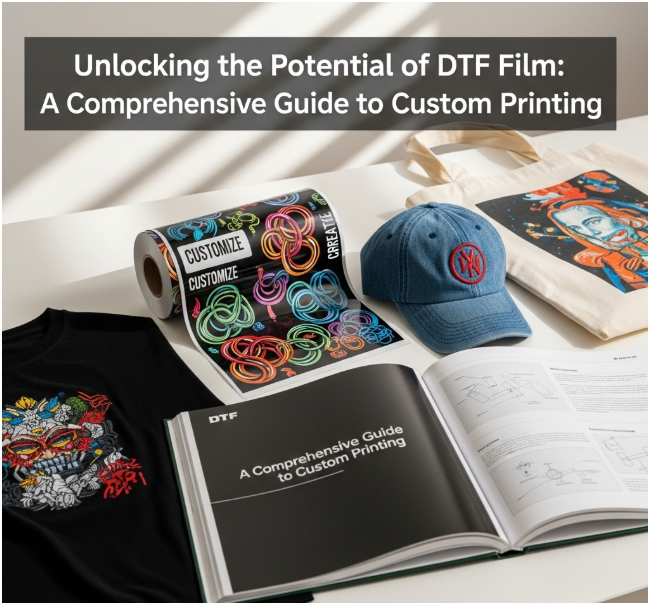
Clear Plastic Film (PET Film): This transparent film acts as the base material for printing. It is durable and flexible, allowing easy handling during printing, powdering, curing, and heat pressing. The quality of this film affects the final print’s sharpness and adhesion.
Step-by-Step DTF Printing Process
-
Design Creation: Prepare your artwork with the right resolution and colors.
-
Printing on Film: Print the design onto PET film using a DTF printer.
-
Powder Application: Coat the printed film with adhesive powder.
-
Curing: Heat the film to melt the powder and bond it to the ink.
-
Heat Transfer: Press the film onto the fabric using a heat press.
-
Peeling: Peel the film away after cooling, leaving the design on the fabric.
Tips to Master DTF Printing
-
Use High-Quality Inks: Invest in inks designed for DTF to ensure vibrant and long-lasting colors.
-
Calibrate Your Printer: Regular calibration helps maintain color accuracy and print consistency.
-
Control Powder Amount: Apply adhesive powder evenly to avoid clumps or weak adhesion.
-
Optimize Heat Press Settings: Use recommended temperature and pressure settings for best results.
-
Test on Different Fabrics: Different materials may require slight adjustments for perfect transfers.
-
Maintain Equipment: Regular cleaning and maintenance prolong printer and heat press lifespan.
Advantages of Becoming Skilled in This Printing Technique
One of the biggest benefits is the ability to print on a wide variety of fabrics and colors. Whether working with cotton, polyester, or blended materials, this method adapts well and produces excellent results. It also works effectively on both light and dark-colored textiles, offering great flexibility for different projects.
The prints created are highly detailed and vibrant. Thanks to advanced printing technology, designs come out sharp, with rich colors that stand out. This ensures that every piece looks professional and eye-catching.
Compared to some traditional printing methods, this process offers faster turnaround times. Setup is quicker, and printing multiple designs is more efficient, which helps meet tight deadlines and handle urgent orders smoothly.
This technique also supports small batch and custom orders with great ease. It’s perfect for businesses that want to offer personalized or limited-edition products without the need for large-scale production runs.
Additionally, it requires much less setup than classic screen printing. There’s no need for complex screens or lengthy preparation, which reduces labor and material costs. This makes it accessible for newcomers and helps experienced printers scale production quickly.
Conclusion
Mastering this printing technique unlocks a wide range of possibilities for both businesses and hobbyists. By investing in the proper tools and gaining a solid understanding of the process, you can create vibrant and durable designs that meet or exceed customer expectations. With consistent practice and attention to detail, your production quality will improve, helping you build a strong reputation in the market.
Moreover, this method supports flexibility, allowing you to handle small custom orders as well as larger batch productions efficiently. This adaptability is especially valuable for growing brands seeking to diversify their product offerings without significant overhead.
Ultimately, mastering this craft not only boosts your creative potential but also opens doors to new revenue streams and business growth. Whether you’re printing merchandise for clients or launching your own apparel line, success comes from combining the right equipment with knowledge and experience.
